The MSG

Where to start… MSG has been my handle online for a while.. so why not use it to name my first and latest DIY project. This is the result of about a year of toying around with the idea of putting together something along the lines of bootdsc’s Virtuscope. In the process I learned about 3D Design, 3D printing, soldering, python, batteries… and how great and willing to share the people of the cyberdeck discord are.
When it comes to building a deck, a lot of the compromises makers face when putting together their builds are around the capabilities it should have. Examples are x86 vs ARM architecture, plug in vs battery powered, windows vs linux (or between linux distros), E-ink vs LCD, exposed GPIO vs USB based I/O…
MSG answer to these questions is: all of the above, let’s just put everything in the blender and see what comes out.
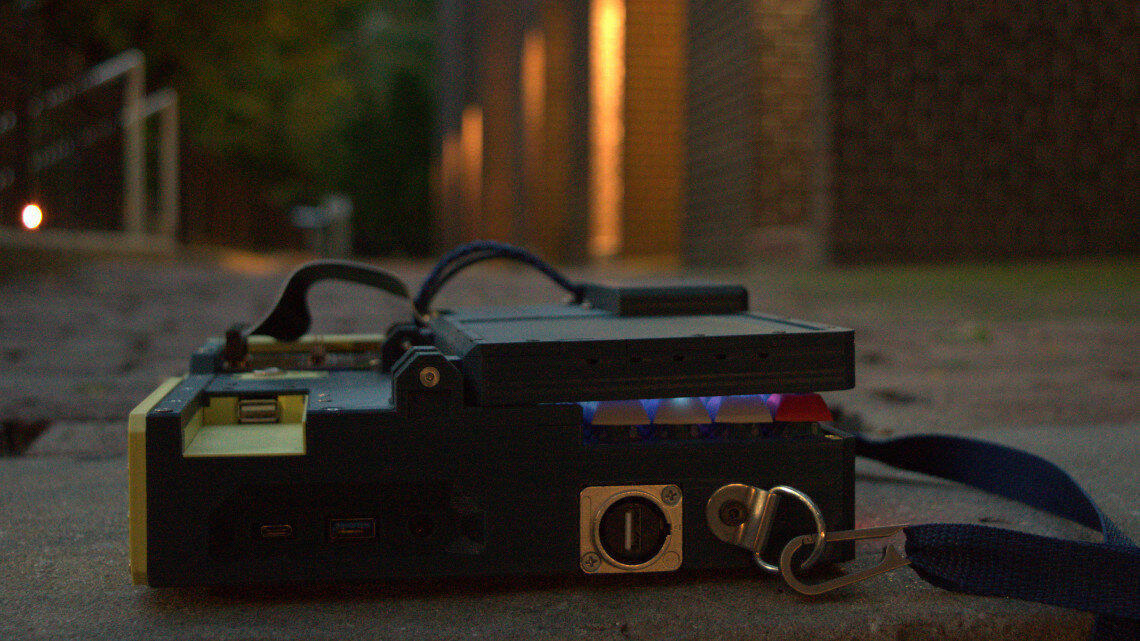
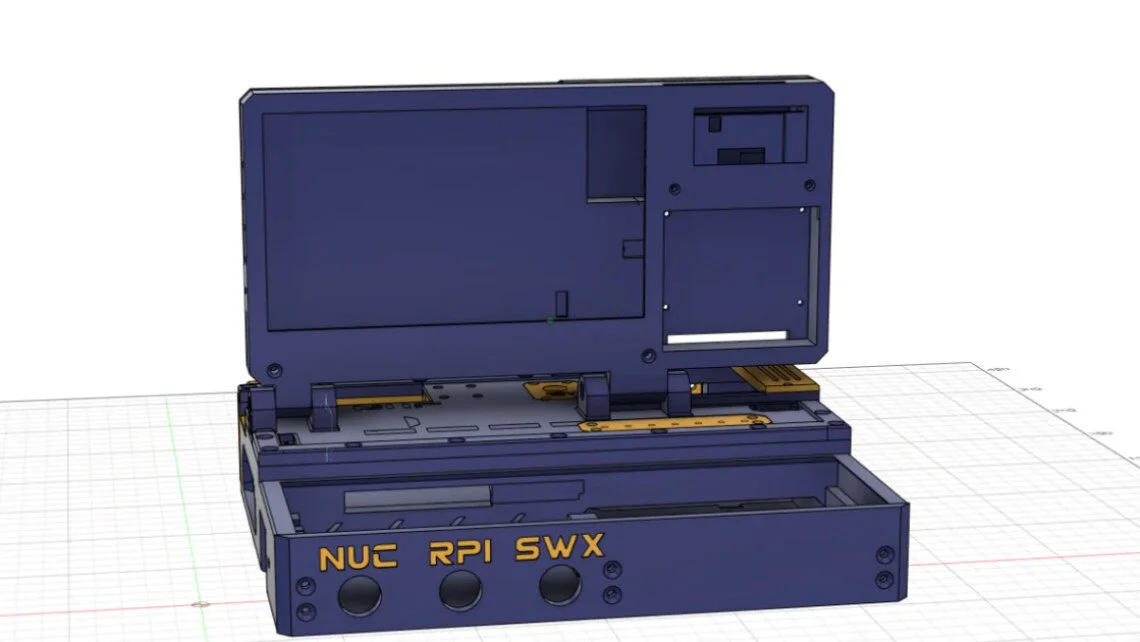
One unique feature of the MSG is a KVM switch sitting under the keyboard. The switch there routes out the LCD screen, Planck 40% mechanical keyboard and a USB port between the 2 systems at the push of the SWX button.
The other one is the size, the footprint of the MSG has been made around the limits of the Prusa MK3s printer. This gives the build a smoother look and reduces the work needed to assemble it.
Other than that there is a decent amount of soldering involved to get all the buttons and LEDs working as intended, also the front panel E-Ink, Microdot and GPIO ribbon.
— commercial break: if you are curious about building your very own MSG, I am putting together a site to help with just that, check out msglab.co and give me a shout in the cyberdeck discord channel —

Thanks for sticking around, where were we.. oh right If you came here for the goodies, well, the good news is that all the STL files are on thingiverse. That said I would really recommend to not printing before exploring the whole build.
It’s reasonably easy to mod the MSG to be just Pi based (if you want to save money or add many more batteries). Or maybe just NUC based, and use the extra space for a 12-19V battery pack).
Many design choices were made specifically for the parts I had at hand, for example the E-Ink display was supposed to go to a pwnagotchi project I never actually attempted after buying all the parts.
As per the BoM:
Main Components
Screws & Co.
short m3 screws 10mm are the most used here
long m3 screws for the hinge
Nylon washers for the hinge
5.5 x 2.5 mm barrel jack for power input
4pin connector for USB internal wiring
jst-ph 2.0 connectors for wiring
3:1 heat shrink with glue
micro usb male connectors
usb male connectors

yeah yeah, all that isn’t cheap. The truth is that you can actually change most of the parts for significantly cheaper options or skip them altogether.
For example there is a i3 NUC instead of the i7 that has the same chassis and same board so you can easily swap that and literally save hundreds of dollars (I bought it and used it for some testing).
Some other choices may be trickier, but you can swap the power supply for something cheaper. I believe that the RetroPSU may work at half the price for example. You just need to make sure that there is enough juice to boot the system, since there are a lot of peripherals relying on the power supply when you are on the go.
On the skipping territory, the microdot is actually taking up some valuable GPIO pins that maybe you want to leave available, and the same goes for the E-Ink screen.
About the hole in the back and next steps
That indent… while working on the msg, the cyberdeck discord channel organized a competition to build a raspberry pi zero based deck. I thought that the raspberry pi zero made for a great companion to the MSG.
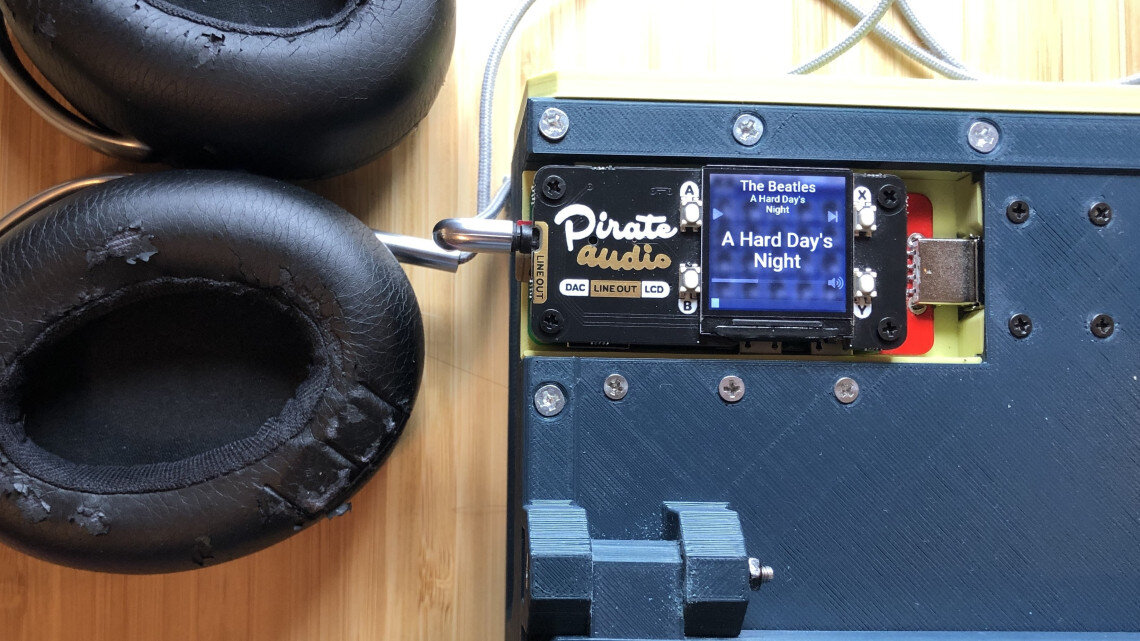
There are many “Hat” modules that you can plug into the raspberry pi zero to achieve things ranging from middle-of-nowhere texting (LoRa), to music player with DAC/Amp, retro gaming and even environment measurement (think temperature, humidity…).
Following on that idea I added a bay on the back of the MSG to accommodate a raspberry pi outfitted with a SparkFun Stem and a Hat. The first module I put together was the Pirate Audio Hat from Pimoroni, and I am currently working on a LoraWan bonnet from Adafruit.
Next steps:
The MSG is made for tinkering, hacking and exploring. It could use an improved power supply, to either extend the battery life of the Raspberry Pi system or allow it to run the NUC on-the-go as well. The number of GPIO pins available after accounting for the PSU, MicroDot screen and E-Ink is rather limited.
Maybe a trick could be added to free up some of them with an arduino board for example. Cooling is not ideal, the NUC stays cool thanks to it’s own cooling system, and I am able to see the Noctua fan on the back makes a difference for the Raspberry Pi temperature. But the position of the fan is not ideal.
Aaaaand I could go on for a while, because that is exactly the point of these DYI projects, they are a great, fun learning experience and the more you work on them the more ideas you get on what to work on next.
Thank you for reading and I hope it wasn’t a complete waste of time.